 Save to Pinterest
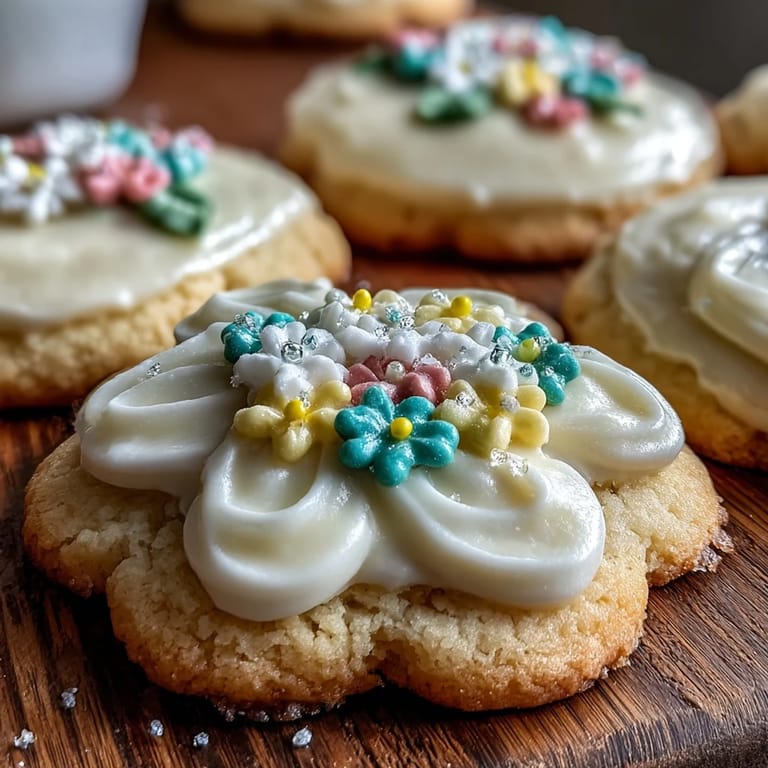
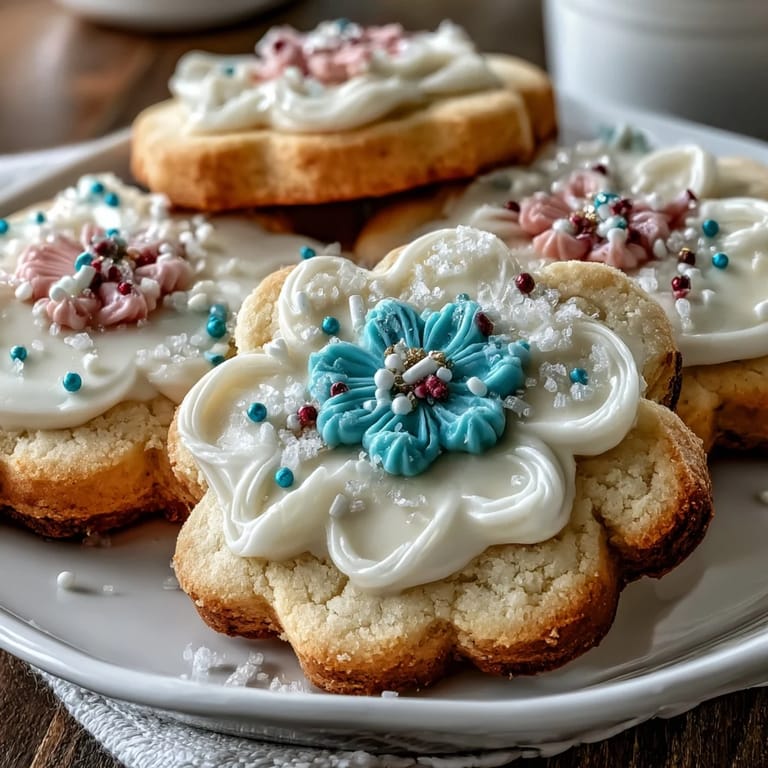
 The first time the scent of vanilla and butter drifted through my kitchen, swirling around fresh flower-shaped cookies, it felt almost like a miniature spring festival right on my countertop. I remember organizing food coloring bottles, eager to see if each pastel would actually look as vibrant as I hoped once painted onto the delicate royal icing. The counter was speckled with flour, and my hands were sticky, but the sense of accomplishment as each cookie cooled was downright exhilarating. Lately, these cheerful spring shortbread cookies have become a little tradition for welcoming sunny days, even when the weather outside has other plans. The gentle crunch and vivid colors have made them a simple pleasure I look forward to every year.
One rainy April afternoon, my cousin dropped by unexpectedly and saw me piping tiny flowers onto cookies, laughter bouncing off the walls as we tried to outdo each other with creative designs. We made a mess, icing everywhere, but it turned into a spontaneous contest—her cookie had a tulip that looked suspiciously like a banana, and mine sported polka dots that weren't part of the plan. Suddenly, it wasn't about perfection, just sharing the process and enjoying the results together. We ended up nibbling the warmest cookies straight off the rack, sipping tea as spring thunder rumbled outside. That memory made decorating cookies feel less intimidating—more like crafting little edible gifts as a group.
Ingredients
- Unsalted Butter: Using good, soft butter creates the tender texture that makes these cookies irresistible—be sure it's soft to avoid lumps.
- Powdered Sugar: It's lighter than granulated, so the cookies bake up delicate and smooth; sifting helps prevent any sneaky clumps.
- Pure Vanilla Extract: Just a tiny splash of true vanilla rounds out the sweet, fragrant flavor—don't skimp or swap for imitation.
- All-Purpose Flour: Gives structure without making the cookies tough; measuring carefully means you won't end up with dry dough.
- Salt: Even a pinch helps balance the sweetness and make everything pop.
- Meringue Powder: For royal icing that's stable and glossy, meringue powder is a game changer; check labels for allergies.
- Powdered Sugar (for icing): Sift it for the smoothest, prettiest icing—no gritty surprises if you take the extra minute.
- Water: Add slowly, since a little makes a big difference; too much and your icing will run everywhere.
- Food Coloring: Spring hues make these cookies festive—gel colors stay bright and won't thin the icing.
Tired of Takeout? 🥡
Get 10 meals you can make faster than delivery arrives. Seriously.
One email. No spam. Unsubscribe anytime.
Instructions
- Cream the Butter and Sugar:
- Grab your mixing bowl and let the electric mixer do its magic—watch as the buttery mixture turns creamy and pale, almost cloud-like.
- Add the Vanilla:
- Just a brief mix, and the aroma shifts instantly into something reminiscent of bakery mornings.
- Sift and Blend the Dry Ingredients:
- Pour in the flour and salt, mixing until a soft dough takes shape; you'll see it pull away from the sides naturally.
- Chill the Dough:
- Divide into discs, wrap gently, and stash in the fridge—thirty minutes makes rolling so much easier.
- Prepare to Bake:
- Turn on the oven, line up parchment, and grab your flower cutter—the anticipation builds as you dust the counter with flour.
- Roll and Cut Cookies:
- Roll out the dough to a quarter inch, then cut flowers, arranging them with space so they don't crowd each other.
- Bake and Cool:
- Watch for golden edges—let them rest before moving, then transfer to a wire rack for that essential cooling.
- Mix Royal Icing:
- Whisk powdered sugar with meringue powder, gradually adding water till you achieve a thick but smooth frosting.
- Dye and Prepare the Icing:
- Split into bowls, stir in pastel colors, and fill up piping bags; ready your work area for some creative chaos.
- Decorate:
- Pipe on petals, dots, and stems—take turns and linger over details; allow the icing to dry fully so the cookies won't stick.
 Save to Pinterest
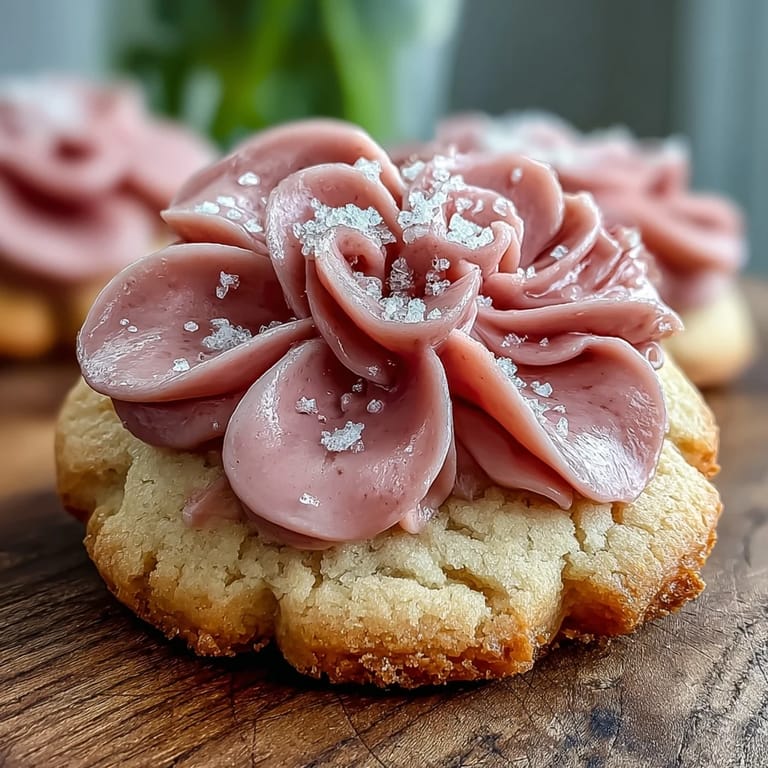
 I realized these cookies meant more than just a treat when I wrapped a handful in a small box for my neighbor, whose garden was still asleep under lingering frost. Her smile and exclamation about 'spring arriving early' made the humble shortbread feel like a little gesture of hope, delicately iced and shared just when it was needed. Moments like that remind me it's sometimes the smallest sweets that linger longest.
Making Cookies Together: What Changes When You Share the Kitchen
One surprising thing about baking these flower cookies as a team is how quickly decorating turns into playful banter—everyone has their own style, from minimalist petals to wild color combinations. I've watched friends get competitive, then break out laughing when their cookie ends up with a wonky tulip or drippy stem. There's something about the hum of conversation and the clatter of tools that makes the process feel more joyous than solo baking. Cleaning up icing blobs is easier when someone else is there to swap stories. It turns out, even kitchen messes get sweeter when shared.
Troubleshooting: Fixes for Common Cookie Slip-Ups
Once, when my dough got too warm and sticky, I learned that just five extra minutes in the fridge brought it back to workable. Watching cookies brown too much—especially if your oven runs hot—showed me to check two minutes earlier than the recipe says, just to be safe. Royal icing that's too runny is a common rookie error, easily fixed with a pinch more powdered sugar. Every batch brings a new lesson, and no two flower cookies ever look exactly the same. Baking truly becomes part improvisation, part science, and part art.
Last-Minute Decorating and Storage Tips
If you’re racing the clock to decorate, keep icing colors covered so they don't dry out. Store finished cookies between sheets of parchment in an airtight container to protect both their beauty and their tenderness. Decorating right after cookies cool means icing sticks best, but letting them dry fully before stacking ensures your flowers stay crisp.
- Keep an extra piping bag on hand just in case one splits mid-decorating.
- Add edible pearls at the very end—they adhere best to fresh icing.
- Always let cookies cool completely before icing to avoid melting disasters.
 Save to Pinterest
 Let these flower-shaped cookies usher a little bit of spring into your day, no matter the season. They’re more than just a treat—they’re a reason to pause, decorate, and share a smile with someone you love.
Recipe FAQs
- → How do you get the flower shape?
Use a flower-shaped cookie cutter to cut the rolled dough, creating beautiful floral designs.
- → Can I add extra flavor to the dough?
Yes, lemon or orange zest adds a refreshing citrus touch to the shortbread.
- → How do I ensure royal icing sets properly?
Allow decorated cookies to dry completely before serving so the icing sets firmly.
- → Can food coloring be used for royal icing?
Absolutely! Gel or liquid coloring in spring shades enhances decorative appeal.
- → How should these cookies be stored?
Keep in an airtight container for up to one week to maintain freshness and texture.
- → Are there decoration alternatives?
Edible pearls or sprinkles can provide extra texture and visual interest.