 Save to Pinterest
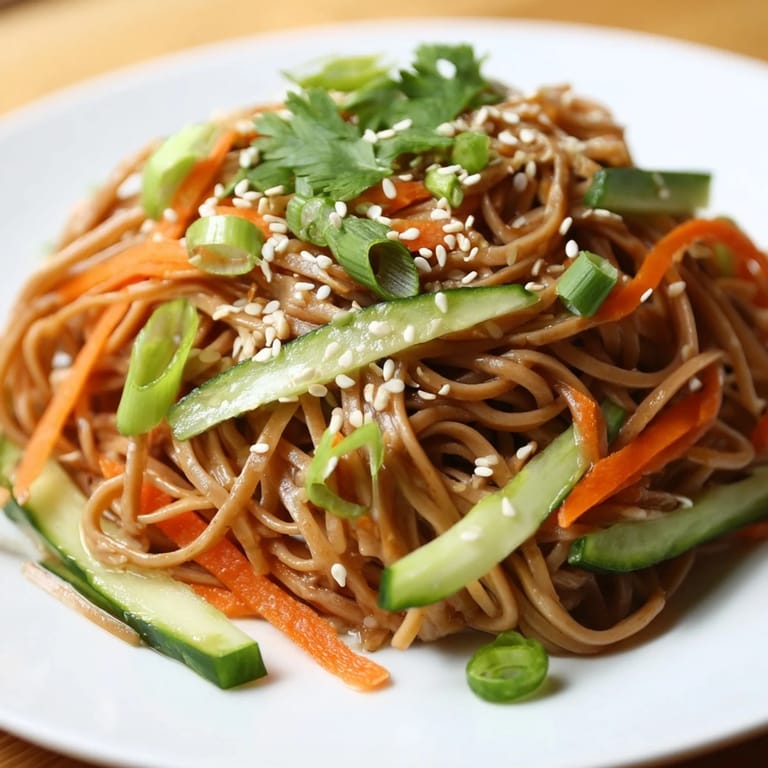
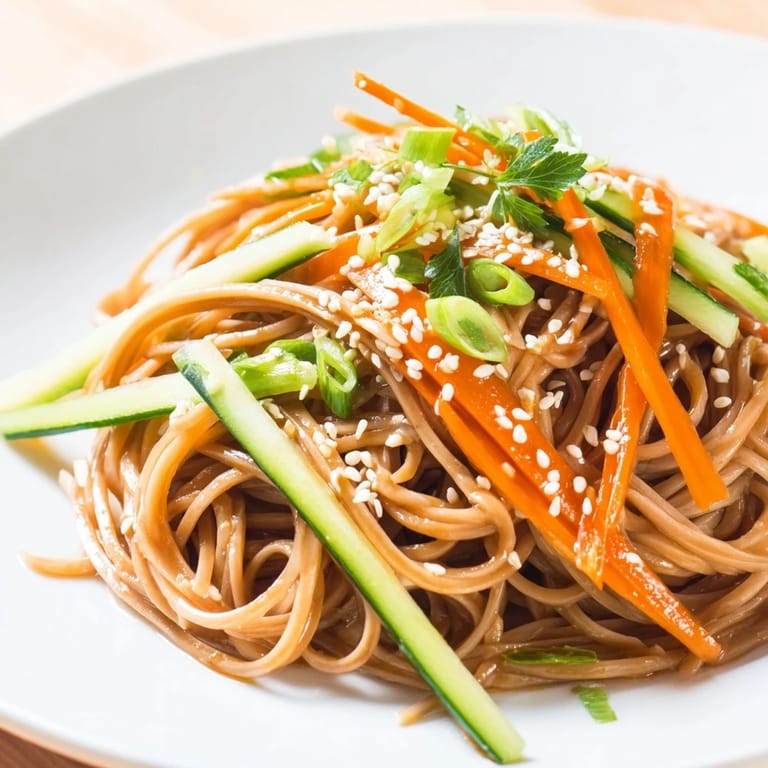
 Last summer, I was desperately searching for lunches I could make on Sunday and not regret by Wednesday. A friend mentioned she'd been eating cold noodle bowls all season, and when she described the sesame oil hitting cold noodles, something clicked. I started playing with ratios in my kitchen one humid afternoon, and by the time I'd julienned my third cucumber, I realized I'd stumbled onto something simple enough to repeat every week but interesting enough to actually enjoy.
I brought these to a work potluck in early July, not expecting much fanfare over meal prep containers. My coworker who swears by takeout spent ten minutes asking questions about the sauce, then came back the next week asking if I'd make extras. That single conversation convinced me this wasn't just convenient—it was actually craveable.
Ingredients
- Dried soba or rice noodles (200 g): Soba has an earthy nuttiness that pairs beautifully with sesame, but rice noodles work just as well if you're avoiding gluten or prefer a lighter texture.
- Soy sauce (3 tbsp, low sodium preferred): This is where most of your salt comes from, so taste as you go and adjust the chili garlic sauce separately.
- Toasted sesame oil (2 tbsp): Don't use regular sesame oil—the toasted version has deeper flavor and you need far less of it.
- Rice vinegar (1 tbsp): Adds brightness without harshness; it's the secret to why this doesn't taste heavy despite the oil.
- Honey or maple syrup (1 tsp): A tiny touch of sweetness rounds out the salty and spicy notes.
- Chili garlic sauce (1–2 tsp): Start with one teaspoon and add more if you like heat; it builds as it sits.
- Cucumber (1 cup, julienned): English cucumbers are less watery than standard ones, which means your noodles won't get soggy sitting next to them.
- Carrots (2 medium, julienned): They stay crisp for days and their sweetness balances the umami.
- Green onions (2, thinly sliced): Add these right before eating so they keep their bite and sharpness.
- Toasted sesame seeds (2 tbsp): These are worth hunting down in the bulk section—they make each bite feel finished.
- Fresh cilantro (1 tbsp, optional): Optional but worth the extra step if you like herbs.
Tired of Takeout? 🥡
Get 10 meals you can make faster than delivery arrives. Seriously.
One email. No spam. Unsubscribe anytime.
Instructions
- Cook and chill the noodles:
- Boil water, drop in noodles, and cook to exactly al dente—they'll soften a bit as they cool. Drain into a colander, then run them under cold water, stirring gently with your fingers to stop the cooking and prevent clumping. This step takes longer than you think but makes all the difference.
- Build your sauce:
- Whisk soy sauce, sesame oil, rice vinegar, honey, and chili garlic sauce in a small bowl until the honey dissolves. Taste it now—you want it balanced between salty, tangy, sweet, and spicy, because this is where all your flavor lives.
- Divide and layer:
- Split the cold noodles evenly into your four containers, packing them down loosely so they actually fit. Top each with cucumber, carrot, and green onion in whatever order appeals to you.
- Sauce and seal:
- Pour the sauce evenly across each container, then give it a gentle toss so every strand gets coated. Sprinkle sesame seeds and cilantro on top, close the lids, and refrigerate.
 Save to Pinterest
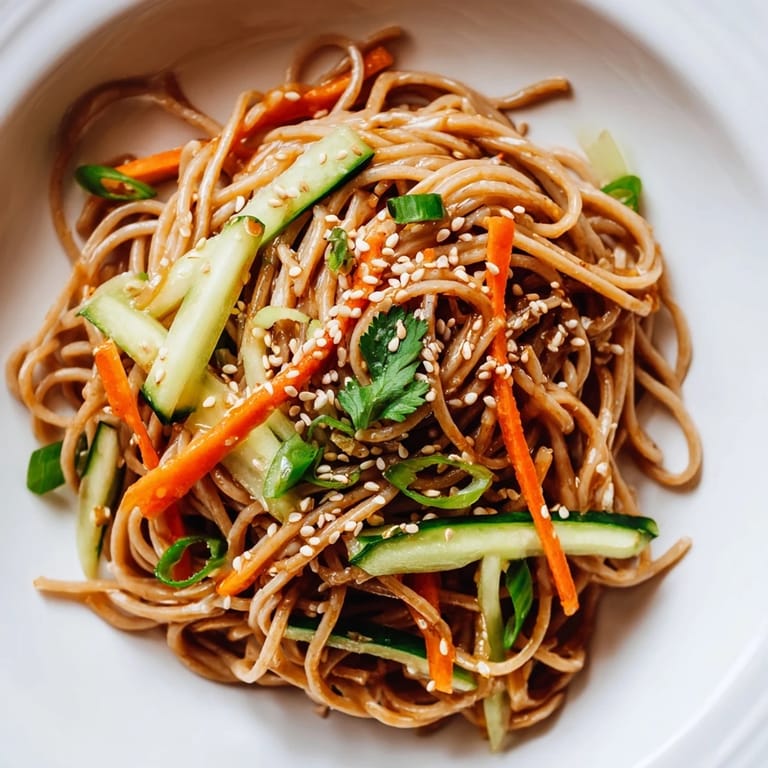
 My partner took one to work and texted me mid-afternoon saying he was already thinking about eating the other three cups before Friday. That's when I stopped seeing this as meal prep and started seeing it as something he actually looked forward to.
The Art of the Cold Noodle Sauce
Cold sauce is different from warm sauce. Flavors mute slightly when cold, so you need to season more boldly than you'd expect. The sesame oil carries the other flavors forward instead of being subtle background noise. Start tasting your sauce warm, then chill a spoonful and taste it again—you'll taste the difference immediately and understand why a whisper more soy sauce matters.
Why Containers Matter Here
I use flat, wide containers instead of tall ones because they let noodles lie mostly flat, which means they chill faster and don't dry out from ice-cold air hitting the same spot for three days. Containers with tight-sealing lids keep the whole thing fresh without the noodles absorbing off-flavors from your fridge.
Variations and Additions
The base is flexible, so treat it as a template. If you're cooking for someone who needs more protein, diced tofu or shredded chicken sits well on top without changing the balance. In winter, I've stirred in a handful of edamame for color and protein. For gluten-free, swap tamari for soy sauce and use rice or chickpea noodles instead of soba.
- Cubed tofu or shredded rotisserie chicken transforms this into a more substantial main course without disrupting the fresh flavor.
- A handful of toasted nuts—peanuts or cashews—adds textural contrast if you want something crunchier than sesame seeds.
- Keep cilantro separate until you eat because it wilts into nothingness by day two.
 Save to Pinterest
 This lunch works because it feels indulgent without any effort. Once you've made it twice, you could practically do it in the dark.
Recipe FAQs
- → What noodles work best for this dish?
Soba noodles or rice noodles are ideal since they chill well and absorb the sauce flavors effectively.
- → Can I prepare these lunch cups ahead of time?
Yes, they keep well refrigerated for up to 3 days, making them perfect for meal prep.
- → How spicy are the noodles with chili garlic sauce?
The chili garlic sauce adds a mild to moderate heat that can be adjusted to your taste preferences.
- → What can I add for protein?
Cubed tofu, shredded chicken, or edamame are great protein options to complement the noodles.
- → Is there a gluten-free version?
Yes, substitute soy sauce with gluten-free tamari and use gluten-free noodles to accommodate dietary needs.
- → How should I store the lunch cups?
Seal them in airtight meal prep containers and refrigerate until ready to eat.