 Save to Pinterest
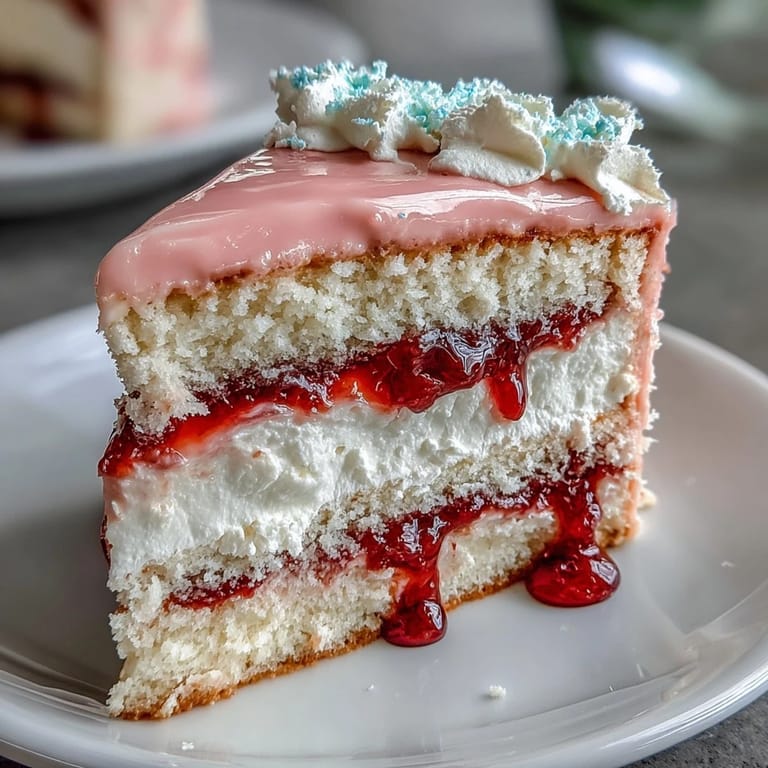
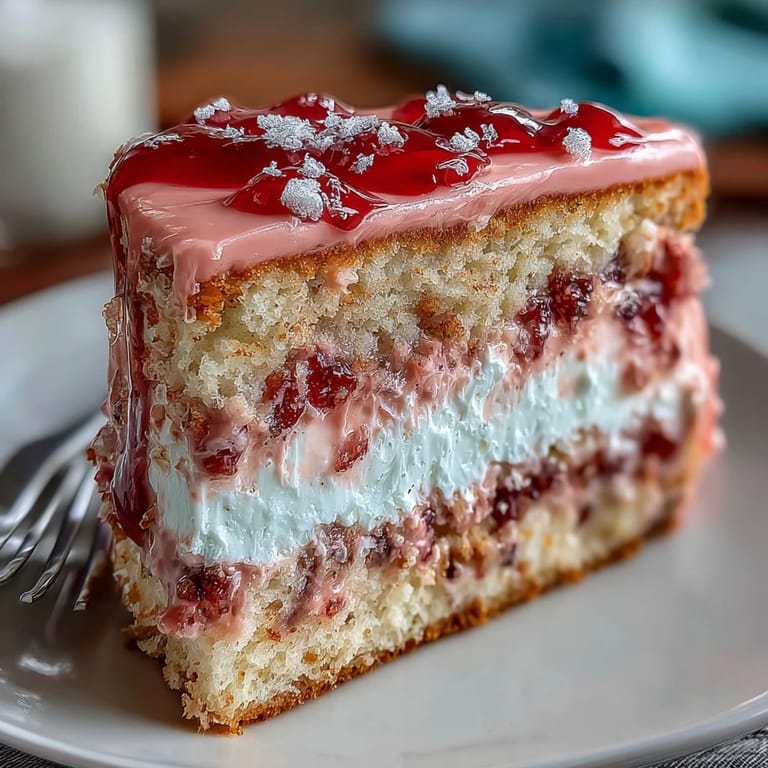
 There's a moment when you're piping buttercream onto a cake and suddenly realize the colors are doing exactly what you imagined—that's when this spring ombre cake grabbed me. My niece was turning seven, and I wanted something that felt like celebration itself, so I started playing with pastels and gradients one afternoon. The pale pink and yellow weren't just pretty; they told a story of a season finally arriving. What began as an experiment became the cake everyone asked me to make again.
I'll never forget frosting this cake while my partner stood at the kitchen counter with a camera, trying to capture the moment the colors blended on the sides. Halfway through, I realized I'd made the pink buttercream slightly too dark, so I started adding plain frosting to lighten it, and that accident actually created the most beautiful gradient we'd seen all day. Sometimes the best results come from quick problem-solving and trusting your instincts.
Ingredients
- All-purpose flour (3 cups): Use fresh flour if you can—it makes a difference in how light the cake rises, and I've learned that scooping straight from the bag compacts it, so spoon and level instead.
- Baking powder (2½ tsp): This is what gives the cake its tender crumb, so don't skip it or reduce it thinking you'll save time.
- Salt (½ tsp): A small amount brightens the vanilla and balances the sweetness in ways most people don't expect.
- Unsalted butter (1 cup for batter, 1½ cups for frosting): Room temperature is non-negotiable here—cold butter won't cream properly, and the cake will come out dense instead of fluffy.
- Granulated sugar (2 cups): The creaming process with butter is where the magic happens, so take those full three to four minutes and don't rush it.
- Eggs (4 large): Room temperature eggs incorporate more smoothly and create a more stable batter than cold ones from the fridge.
- Pure vanilla extract (1 tbsp plus 2 tsp): Quality matters here because it's one of only a few flavorings in the cake itself.
- Whole milk (1 cup): Alternating wet and dry ingredients creates a better texture than dumping everything at once.
- Gel food coloring (pink and yellow): Gel coloring creates truer, more beautiful pastels than liquid food coloring, which can make the batter too thin.
- Powdered sugar (5 cups, sifted): Sifting removes lumps and helps the frosting become silky rather than grainy.
- Milk or heavy cream (3–4 tbsp): This adjusts the frosting consistency—add it slowly until the texture is spreadable but holds its shape.
Tired of Takeout? 🥡
Get 10 meals you can make faster than delivery arrives. Seriously.
One email. No spam. Unsubscribe anytime.
Instructions
- Prepare Your Stage:
- Preheat the oven to 350°F and get three 8-inch round pans lined with parchment paper—this small step prevents sticking disasters. Grease the pans first, then press parchment paper into them so the cake sides stay clean.
- Build the Base Batter:
- Whisk flour, baking powder, and salt together in a bowl, letting the whisk do the work of aerating the flour. In your large mixing bowl, beat butter and sugar on medium speed for three to four minutes until the mixture looks pale, fluffy, and noticeably lighter than when you started.
- Add the Eggs with Care:
- Drop in one egg at a time, beating well after each addition so the batter stays emulsified and creamy. Pour in the vanilla and mix until you can't see any streaks of it anymore.
- Layer Wet and Dry Ingredients:
- Start with some of the flour mixture, then alternate with milk, then more flour, always ending with flour—this prevents overmixing. Stir just until you can't see dry flour anymore; the batter will look slightly lumpy, and that's exactly what you want.
- Create Your Pastel Colors:
- Divide the batter into three bowls and add just a tiny drop of pink gel coloring to one, a tiny drop of yellow to another, and leave the third plain. Mix each color gently but thoroughly until the tint is even, then pour each batter into its prepared pan and smooth the tops.
- Bake with Attention:
- Slide the pans into the oven and bake for 22 to 26 minutes until a toothpick inserted in the center comes out clean with just a few moist crumbs. Don't open the oven door during baking, but do check around minute 22 so you catch them at peak doneness.
- Cool Strategically:
- Let the cakes rest in their pans for 10 minutes—this helps them set without falling apart—then turn them out onto wire racks to cool completely. This usually takes about an hour, so this is a perfect time to clean up your mixing bowls or step away for a coffee.
- Whip Your Frosting:
- Beat softened butter on medium-high speed until it's pale and creamy, then gradually add the sifted powdered sugar, vanilla, salt, and three tablespoons of milk. Beat it all together until fluffy, adding a splash more milk if it seems too thick—it should spread easily but hold peaks.
- Divide and Tint the Frosting:
- Scoop the frosting into three bowls and add gel coloring to match your cake layers: pale pink, pale yellow, and plain. The colors should be soft and pastel, not bold, so they create a gentle ombre effect.
- Stack and Frost with Purpose:
- Place your first layer (usually yellow) on a serving plate and spread a thin layer of matching frosting on top. Add the next layer and frost it, then top with the pink layer and frost the top.
- Master the Ombre Blending:
- This is where the cake becomes special—use an offset spatula or cake scraper to frost the sides, working in sections and blending the colors where they meet. Start with yellow at the bottom, transition to plain in the middle, and blend to pink at the top, using gentle strokes to feather the colors together.
- Decorate and Chill:
- Add pastel sprinkles, edible flowers, or pearl dust if you like, then refrigerate the finished cake for at least 30 minutes. This chilling time sets the frosting and makes slicing much cleaner.
 Save to Pinterest
 What made this cake special wasn't just how it looked on the table; it was watching my niece's face when she realized the colors weren't painted on top but actually baked inside each layer. That's when I understood why people fall in love with baking—it's the surprise of discovering something beautiful that you made with your own hands.
The Science of Pastel Colors
I learned the hard way that gel food coloring behaves differently than liquid coloring—gel doesn't thin out the batter, so your cake stays fluffy and light. When I first made this cake using regular liquid coloring, the batter got slightly runny and the cake came out denser than intended. Now I always reach for gel first, and the difference is obvious in how the cake rises.
Why Room Temperature Matters
The reason I keep harping on room temperature ingredients is because I've baked this cake when I didn't wait, and the texture suffered noticeably—the crumb was tighter, less tender, and the frosting didn't blend as smoothly. Taking fifteen minutes to let ingredients sit on the counter isn't wasted time; it's the difference between a good cake and one that makes people close their eyes when they take a bite. Room temperature butter and eggs mix with air more efficiently, which is what creates that light, fluffy structure.
Storing and Serving This Beauty
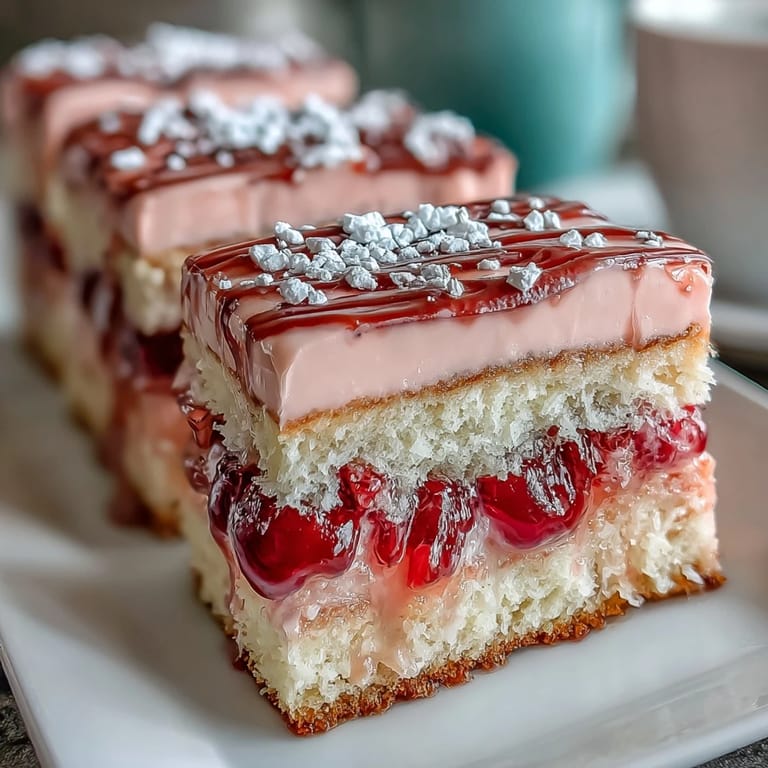
This cake stays fresh at room temperature for one day if your kitchen isn't too warm, but I prefer refrigerating it because the frosting stays firmer and the colors look even more vibrant when chilled. It keeps beautifully in the fridge for up to four days, covered loosely with plastic wrap or stored in a cake box. A slice tastes wonderful slightly cold, and the buttercream has a silky texture that melts on your tongue.
- Let the cake sit at room temperature for fifteen minutes before serving if it's been chilled—the cake will be tender and the frosting will have perfect consistency.
- If you're making this ahead for an event, bake the layers a day or two early and freeze them unfrosted, then assemble and frost the day you need it.
- Slice with a long, sharp knife dipped in hot water and wiped clean between cuts for the cleanest, prettiest slices that showcase those gorgeous ombre layers.
 Save to Pinterest
 This cake has become my go-to for celebrations because it feels special without demanding impossible technique. Make it once, and you'll understand why spring deserves a cake this beautiful.
Recipe FAQs
- → How do I achieve the ombre effect in the sponge layers?
Divide the batter into portions and tint each with varying amounts of pink and yellow gel coloring for soft gradient layers.
- → What is the best way to frost the cake evenly?
Use an offset spatula and cake scraper to spread and blend buttercream smoothly, ensuring seamless color transitions.
- → Can I prepare the cake layers ahead of time?
Yes, bake and cool layers fully, then wrap and refrigerate or freeze to maintain freshness before assembly.
- → What alternatives can be used for a tangier flavor?
Substitute buttermilk for regular milk to add a subtle tang and tender crumb to the sponge.
- → How should the assembled cake be stored?
Store covered at room temperature for one day or refrigerate up to four days to keep the frosting fresh.
- → Are there suggestions for decorating besides sprinkles?
Edible flowers or pastel-colored decorations enhance the cake's appearance while keeping the soft spring theme.