Save to Pinterest
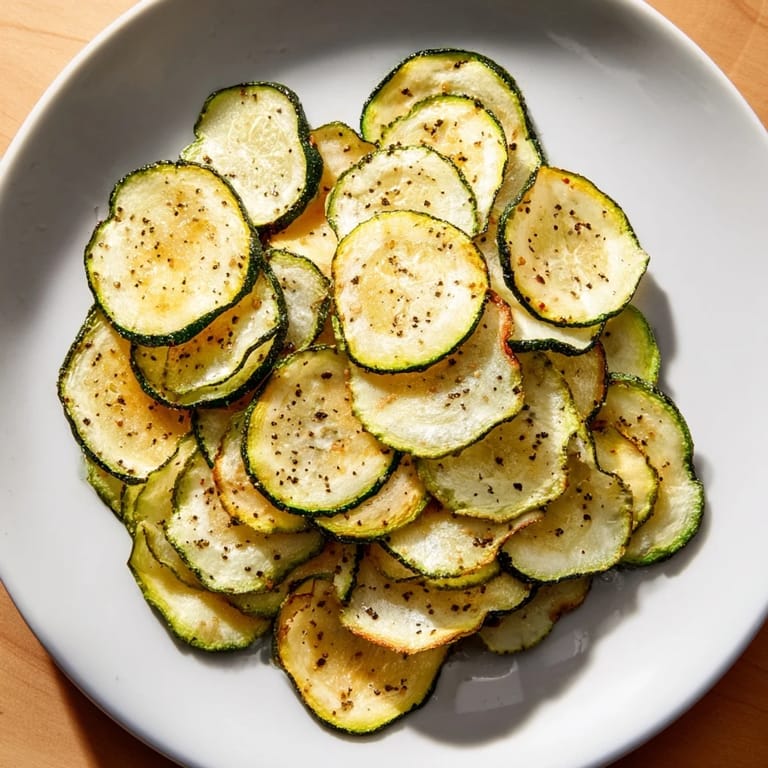
 My kitchen smelled like burnt zucchini the first time I tried making chips, and I was certain I'd failed. Turns out I'd cranked the heat way too high and watched them turn into blackened wafers in twenty minutes. A few experiments later, I discovered that patience at low heat is the secret—that slow, gentle bake transforms thin slices into something genuinely crispy and addictive. Now these are my go-to snack, and friends always ask what I'm making because the aroma is irresistible.
I brought a batch to a movie night once, thinking they'd be a forgettable side dish. Instead, someone asked if I'd bought them from a store because they were too good to be homemade. That moment made me realize how underrated this recipe really is—it's simple enough for a weeknight snack but impressive enough to share with people you actually want to impress.
Ingredients
- 2 medium zucchinis: Look for ones that are fairly uniform in size so they bake evenly, and don't worry about picking the perfectly shaped ones—any zucchini will do.
- 1 tablespoon olive oil: This is what makes them crispy and golden, so don't skip it or swap it for cooking spray.
- 1/2 teaspoon sea salt: Regular salt works fine, but sea salt feels nicer and dissolves more evenly across the slices.
- 1/4 teaspoon freshly ground black pepper: Fresh pepper makes a real difference in the flavor, so grind it right before using if you can.
- 1/2 teaspoon garlic powder (optional): This is my favorite add-on because it makes them taste savory and sophisticated.
- 1/2 teaspoon smoked paprika (optional): A tiny hint of smokiness that makes people wonder what your secret ingredient is.
Tired of Takeout? 🥡
Get 10 meals you can make faster than delivery arrives. Seriously.
One email. No spam. Unsubscribe anytime.
Instructions
- Get your oven ready:
- Preheat to 225°F and line two baking sheets with parchment paper—this low temperature is the whole game, so don't be tempted to turn it up.
- Slice your zucchini thin:
- A mandoline is your friend here, but a sharp knife works if you take your time and keep the slices as even as possible. Aim for about 1/8 inch thick so they bake evenly.
- Dry them thoroughly:
- Pat the slices with paper towels until they feel almost dry to the touch, because any moisture sitting on them will steam instead of crisp.
- Season generously:
- Toss everything together in a bowl until each slice is lightly coated with oil and seasonings, and don't be shy with the salt and pepper.
- Arrange in a single layer:
- Spread them on the baking sheets without overlapping, because overlapped slices will steam each other instead of crisping up.
- Bake low and slow:
- After the first hour, rotate the sheets and flip each chip, then continue baking until they're golden and the edges are just starting to curl slightly.
- Cool completely before eating:
- This is when the real magic happens—they'll crisp up even more as they cool down, so resist the urge to snack immediately.
 Save to Pinterest
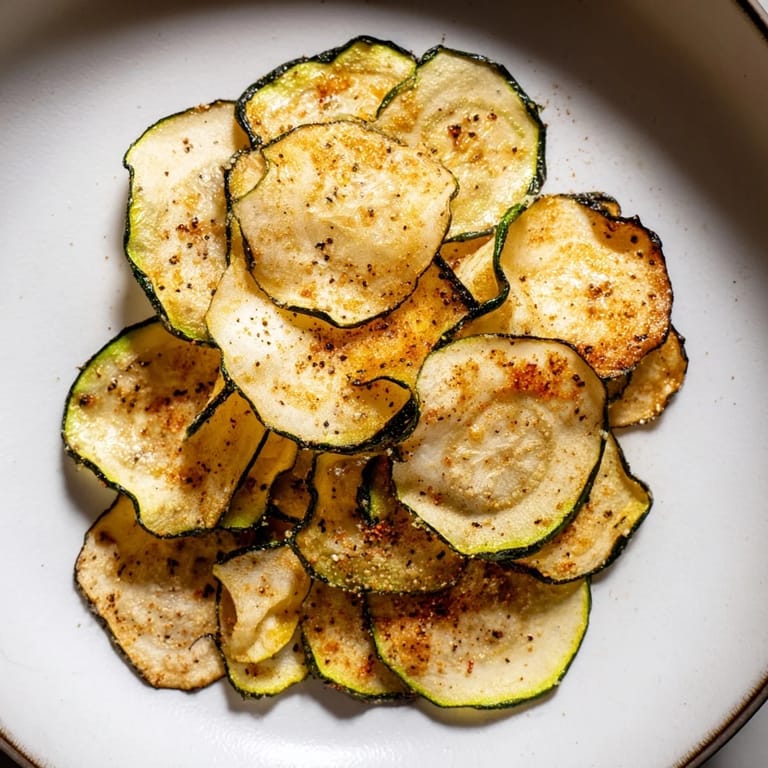
 My partner used to wrinkle their nose at anything zucchini-related until they tried these warm from the oven. Now they sneak into the kitchen whenever they smell them baking, and I've had to learn to make double batches. It's become one of those small moments where food stops being just fuel and becomes something that brings people together.
Seasoning Ideas That Actually Work
The beauty of this recipe is that it's a blank canvas for whatever flavors you're craving. Chili powder and a pinch of cumin give them a Southwestern vibe, while Italian herbs and a tiny bit of garlic make them taste like they belong at a fancy snack hour. Even just sea salt and pepper is perfect when you want something pure and simple, and I've found that nutritional yeast adds a cheesy note that's surprisingly satisfying.
Storage and Timing
These are best eaten the same day because after that, even in an airtight container, they start to soften as they absorb moisture from the air. I've tried keeping them longer, hoping they'd stay crispy, but honestly they're so quick to make that there's no reason not to bake a fresh batch whenever you want them.
Making Them Feel Like a Treat
Sometimes I finish a batch with a light sprinkle of grated Parmesan right before the last few minutes of baking, which makes them feel fancy and restaurant-worthy. The melted cheese adds just enough richness that you forget these are basically just vegetables. Serve them still warm with a cold drink, and you've got yourself a moment that feels indulgent.
- Parmesan sprinkled on before the final bake makes them feel like an actual snack.
- Try pairing them with a cool ranch dip or sriracha mayo for dipping.
- Make a double batch because they disappear faster than you'd expect.
 Save to Pinterest
 These chips have quietly become my favorite snack to make when I want something that feels indulgent but isn't, and I love how simple they are. Every time I pull them from the oven, golden and perfectly crispy, I'm reminded that the best recipes are often the ones hiding in plain sight.
Recipe FAQs
- → How do I achieve maximum crispiness?
Pat zucchini slices dry before seasoning and bake at a low temperature, flipping halfway through, to remove moisture and ensure crispiness.
- → Can I add other seasonings?
Yes, try chili powder, Italian herbs, or nutritional yeast to create varied flavor profiles.
- → Is it necessary to flip the slices during baking?
Flipping helps even browning and ensures both sides become evenly crisp and golden.
- → How should I store leftovers to maintain crunch?
Keep chips in an airtight container and consume within two days to preserve their texture.
- → Are these chips suitable for special diets?
Yes, they fit vegetarian, gluten-free, and low-carb lifestyles.